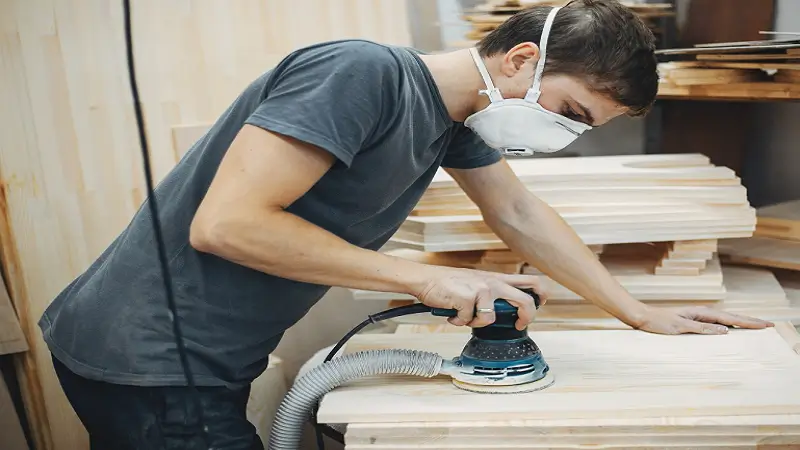
Sanding large wooden surfaces or preparing several pieces for a new finish can take a lot of time. An air powered sander makes the task easier by using compressed air to move the sanding pad across the surface.
This tool is useful for many woodworking jobs, from smoothing furniture to preparing wood for paint or stain. It also lets you work across different surface sizes and shapes with greater control.
Getting a good finish depends on more than the tool itself. Your choice of sandpaper, the way you guide the sander, and how you prepare the wood all affect the final result. Understanding how air powered sanders work can help you choose the right approach for your next sanding project.
1. Improve Sanding Speed and Surface Quality
To sand a big wooden table or door by hand requires numerous repetitions. In an air powered sander, the sanding pad is carried around with the assistance of compressed air, which allows one to cover wide areas with smooth movements.
Your speed of working also depends on the size of the pad. A bigger pad sweeps over a larger flat area with each stroke, but a smaller pad allows you to have control over it in narrow areas. Selecting an appropriate pad enables you to work effectively in various sections of a project.
In addition to speed, a smooth finish is also important when painting, staining, or applying a clear finish to wood. Its stable sanding effect encourages uniform removal of material, providing you with a smoother surface to paint, stain, or apply a clear coat.
Overlapping passes help distribute sanding across the workpiece, while the right pad size helps you work across different areas. Combined, these features help to achieve efficient sanding and a more consistent finish.
2. Choose the Right Grit and Sanding Action
The sandpaper you choose affects how much wood the sander removes and how smooth the surface becomes. Coarse grit removes material faster, while fine grit creates a smoother surface for finishing. Choosing the right grit helps you prepare the wood at each stage of the job.
The sander’s orbit also affects how it works. A larger orbit often removes material faster, while a smaller orbit may suit finer sanding tasks. Your choice depends on the condition of the wood and the finish you want to achieve.
For example, a rough wooden tabletop may need a coarser grit to smooth the surface before you move to finer sandpaper. Each step helps reduce the marks left by the previous one, creating a smoother base for stain or paint. Wood that is already smooth may need only light sanding before you apply a new finish.
The key is to match the grit and sanding action to the task. Starting with a suitable abrasive and moving through the sanding stages as needed helps you prepare the surface evenly while controlling how much material you remove.
3. Reach Curves, Edges, and Small Details
Flat panels are only one part of many woodworking projects. Furniture legs, curved edges, moldings, and decorative shapes have different forms, so sanding them often calls for tools and abrasives that can reach each area.
A compact sanding pad makes it easier to work in narrow spaces, while flexible abrasives can follow curves and shaped surfaces. These options help you handle detailed areas with greater control and maintain the shape of the wood. Understanding these details is also useful when learning the basics of woodworking.
Edges and corners also need careful attention because sanding can remove material from these smaller areas more quickly. A controlled sanding motion helps preserve fine details while creating a smooth surface.
For example, a wooden table may have a wide top, rounded edges, and narrow legs. A larger pad suits the tabletop, while a smaller pad or flexible abrasive can work better around the edges and legs. Using suitable tools for each area helps create a consistent finish across the entire piece.
4. Improve Comfort During Extended Sanding
Working on several furniture pieces can keep you sanding for long periods. An air powered sander handles the sanding motion, allowing you to guide the tool rather than make every stroke by hand. This can be especially useful when preparing multiple panels, cabinet doors, or furniture parts for the same finish.
Many pneumatic sanders have lightweight designs that make them easier to handle during longer jobs. The tool’s grip, size, and vibration also affect comfort, while its weight can influence how easily you move it across broad surfaces or around smaller details.
Your working position matters as well. Keep your wrists in a natural position, secure the wood before sanding, and take short breaks during longer sessions. These habits support comfortable handling and help you maintain better control as you work.
Since the sander runs on compressed air, your compressor also needs to meet its air pressure and airflow requirements. A suitable air supply helps the tool perform as intended and supports steady operation throughout the job.
5. Prepare Wood for Paint, Stain, and Clear Coats
Sanding plays an important role in the final look of a wooden surface. It creates a suitable base for paint, helps stain bring out the wood grain, and supports a smooth appearance under a clear coat.
The amount of preparation varies with the wood and the coating. Raw wood often needs several sanding stages to create a smooth surface, while previously painted wood in good condition may need only light sanding before repainting. These differences make the choice of grit and sanding method important to the final result.
Dust also affects the appearance of a finished surface. Fine particles trapped under paint or a clear coat can leave a rough texture, especially on glossy finishes. A clean surface helps the coating look smoother and allows the natural details of stained wood to stand out.
Surface quality matters just as much as the coating itself. Scratches and rough patches can remain visible after paint or stain is applied, which is why even sanding and proper surface preparation contribute to a more polished final result.
Bottom Line
Air powered sanders make woodworking more efficient by speeding up sanding and helping create an even surface. Their range of pad sizes and sanding actions makes them useful for broad panels, curved edges, and detailed areas.
The final result depends on the wood, the abrasive, and the finish you choose. Proper sanding and dust removal help create a smooth base for paint, stain, or a clear coat. By matching the tool and sanding method to your project, you can achieve a consistent finish while making better use of your time. See more